
Quick Start Guide
Your first shoot in Cullstack, in five steps. Keys are shown for Mac; on Windows and Linux use Ctrl where you see ⌘.
Cullstack works on your photos where they already are: on this computer, an external drive, a NAS or a cloud drive. There is nothing to import and no catalog to build. Your ratings and picks are kept by Cullstack, and the files stay as they were.
1. Open a folder
Click a folder in the sidebar on the left. Your drives are listed there, and network and cloud drives appear under Network once you add them in Connection Manager. The photos fill the grid. To see the photo you click at a larger size beside the grid, click Preview in the toolbar.
Move around the grid with the arrow keys. Double-click a photo, or press Enter, to look at it full screen. Full screen is for viewing; to cull, use Culling Mode below.
2. Mark the keepers
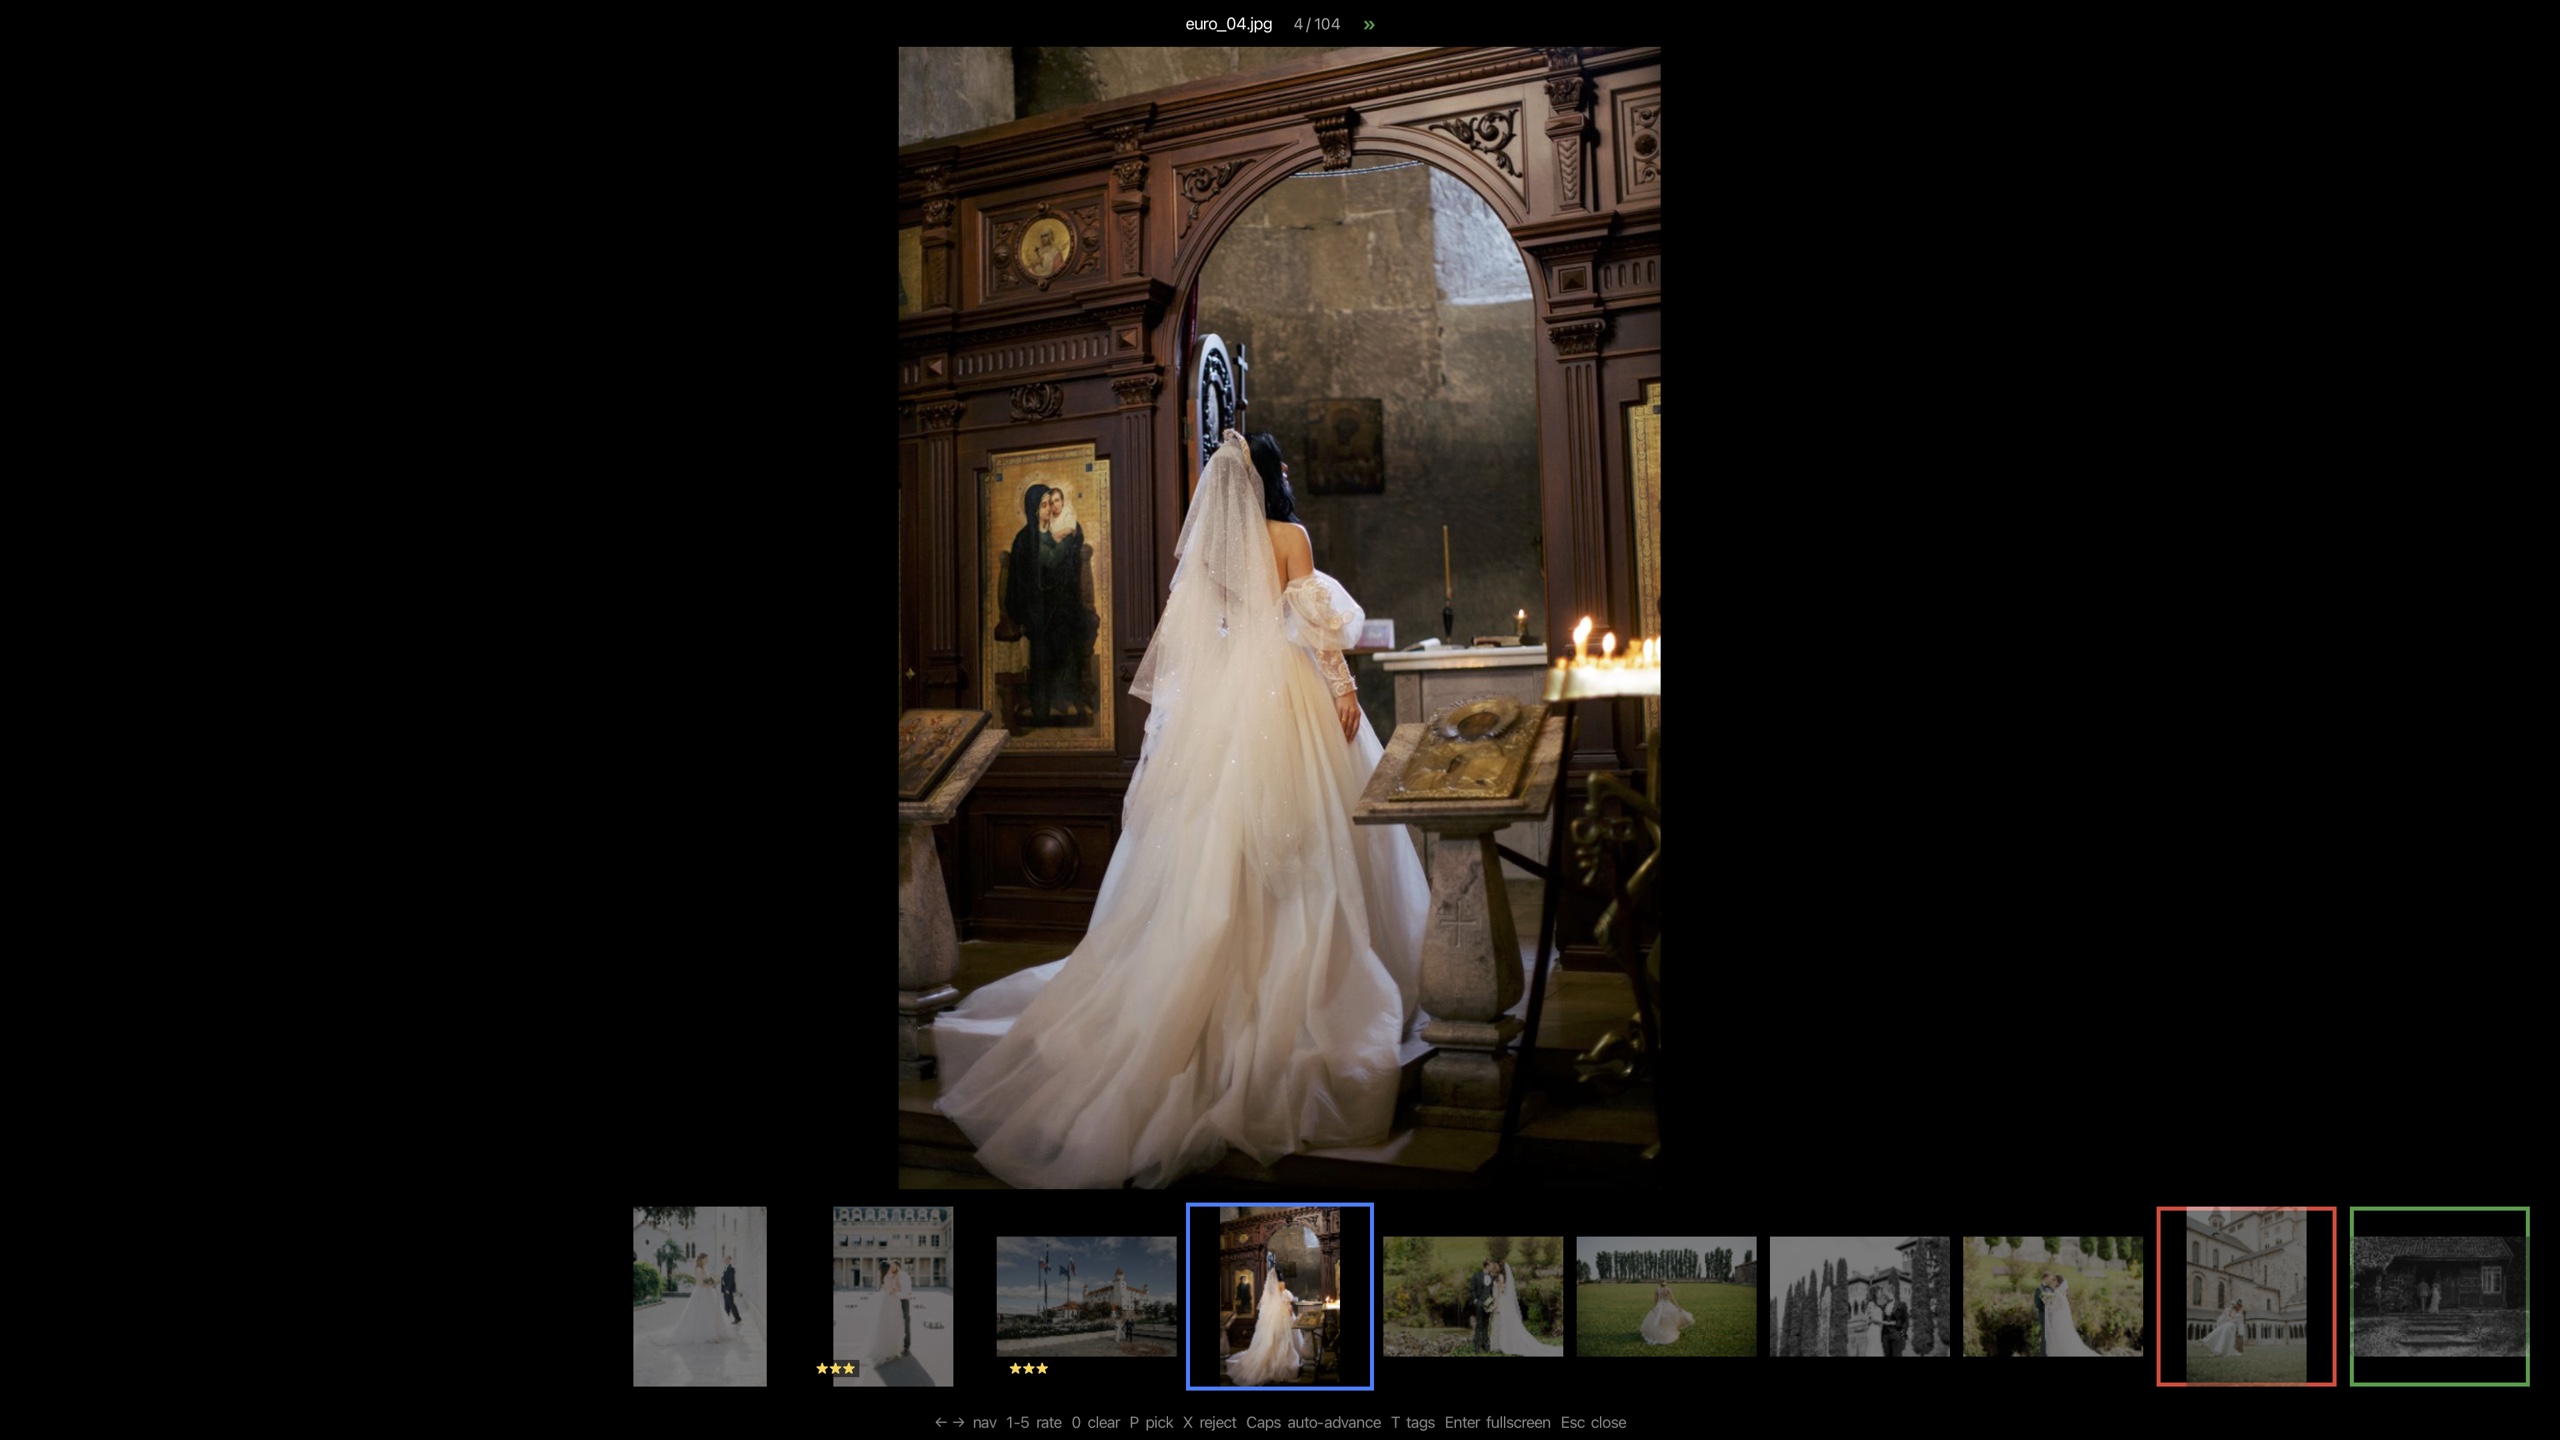
Cull in Culling Mode: press ⌘K, click Cull in the toolbar, or choose Cull > Culling Mode. It shows one photo at a time, as large as your screen allows, and loads the next photos ahead so each one appears at once. You can also mark photos right in the grid.
- ← → or Space: previous or next photo
- P: pick · X: reject · U: clear the flag
- 1 to 5: stars, 0 to clear them · 6 to 9: color labels
- Caps Lock: move on to the next photo by itself after each mark
- + −: zoom · F: zoom to the face · Esc: back to the grid
Culling from a network drive? Choose Tools > Prepare Thumbnails for This Folder… and tick Also prepare previews for culling before you start. Each photo then opens at once instead of being fetched the first time you reach it.
3. Let the AI help
First, choose Cull > Download AI Models… once. It is a one-time download of about 1.7 GB. The AI runs on your computer, and your photos are never uploaded. The eye checks and the other AI tools are part of Pro, and included in the free trial; the blur and exposure checks work in every version.
Then choose Cull > Check This Folder. It looks through every photo in the folder in one pass for closed eyes, out-of-focus eyes, blurry photos and bad exposure. The Cull menu also has each check on its own, and finders for faces, people and similar photos.
What a check finds is marked with a small badge on the thumbnail and listed under Scan Results in the sidebar, with a count. Click a result there to see only those photos, check them, and press X to reject the ones you agree with. Click Show all to see every photo again. If a check got a photo wrong, right-click it and choose AI corrections.
For bursts and near-identical frames, choose Cull > Group Bursts & Similar Shots (⌘G). Frames of the same moment are stacked, with the best frame on top, so you can compare a few stacks instead of hundreds of photos. A bar over the grid says what was grouped, with Undo.
4. Keep the picks
Above the grid, set Flag to Pick (or Rating to the stars you want) so the grid shows only your keepers. Then press ⌘A to select them all, and either:
- choose File > Copy To… or File > Move To… (also on the right-click menu), or
- drag them onto a folder in the sidebar. A plain drag copies, and holding ⌘ while you drag moves.
Your ratings, picks and labels travel with photos you copy or move this way.
5. Where to go next
- Press F1 in Cullstack for every keyboard and mouse shortcut, or see the printable shortcut sheet.
- Settings let you choose things like whether Culling Mode shows videos, the text size, and what Delete does.
- Questions or problems: Help > Support in Cullstack, or the support page.